
Choosing a Shower Valve While the Wall Is Still Open
Have the trim box or its spec sheet, the handheld and slide bar you bought, and a piece of your tile along with the board it goes on. Stand in the open shower with us, decide where everything goes, and we mark it on the studs before a single fitting gets soldered.
The best shower decisions get made standing on a bare subfloor with a marker in hand. Drawings help, but nothing beats reaching for an imaginary handle in the actual space you will be showering in.
That rough-in walk-through is short and a little informal, and it heads off a surprising number of future annoyances. It works best when the right people, and the right few things, are in the room together.
Who should be standing in the shower
You, first. You are the one using this shower every day, and the marks should fit you. If two very different heights share the bathroom, both of you should be there, along with anyone who showers seated or helps a child bathe.
The tile setter or general contractor is the other person worth having in the room. They know how the wall will be built up, where the niche and bench are planned, and how they intend to lay out the tile. A few minutes with all of us standing together settles questions that would otherwise bounce between phone calls for a week.
We put people where they would really stand. One person steps in as if to shower, and another stands at the entry as if reaching in to start the water. Where hands land without effort, and where heads clear comfortably, is where the marks go. It feels a little like playacting, and it works.
What goes on the studs
With everyone in place, we start writing on the framing. A line for the center of the valve. A line for the showerhead outlet. Two marks for the ends of the slide bar and one for the handheld’s hose outlet. If the diverter has its own handle, it gets a mark of its own.
Then the things that are not plumbing but sit right next to it. The outline of a niche, so no pipe wanders through the space it needs. Grab bar locations, so the framer adds solid blocking where the bar will screw in. The top of a bench, if there is one, so the valve lands where a seated person can still reach it.
Every mark gets labeled in plain words, right on the wood, and we photograph the wall when we finish so everyone works from the same picture. When the framer, the plumber and the tile setter all follow one set of marks, nobody has to guess later.

What to have in your hands
The trim itself, or at least its box. The packaging names the exact valve body it needs and often includes the spec sheet with the rough-in dimensions. If the trim has not arrived yet, a printout of the product page will do. Without either one, we would be setting a valve for a handle nobody has chosen.
The handheld and slide bar, if you have bought them. The length of the bar decides where its ends land, and some bars fasten to the wall in ways that change where blocking goes. Holding the real piece up to the studs beats reading a listing on a phone.
A sample of your tile, plus a scrap of the board it will sit on. We stack them against a stud along with whatever waterproofing the tile setter plans to use and measure the whole stack. That tells us where the finished face of the wall will be, which is the number the valve body is set to.
What the tile setter needs from the plumber
Tile setters inherit the shower after us, and a clean handoff makes their work easier. They need outlets that come straight out of the wall, square to the framing. They need the plaster guard left on the valve so thinset never gets inside it. They need stub lengths cut right so cover plates can sit flat against the finished tile.
They also need to know exactly where the valve center sits before they plan the wall. Many setters like to lay the tile so the trim plate lands centered on a tile or on a grout line, which looks deliberate instead of accidental. A clear, labeled mark lets them plan around it.
Finally, they need to hear that the rough-in passed its pressure test, so they never close up a wall that might weep. We tell them directly the day the gauge holds.
What the plumber needs from the tile setter
It runs the other way too. We need the real wall build: which board, which waterproofing, how thick the setting bed runs, which tile. A switch from thin ceramic to thick stone after the valve goes in is the most common reason a shower trim ends up not fitting the way it should.
We need to hear about anything that will cross the plumbing wall, like a niche that grows, a bench that moves or a ledge added for bottles. And we need the schedule, so the pressure test happens before board goes up rather than after.
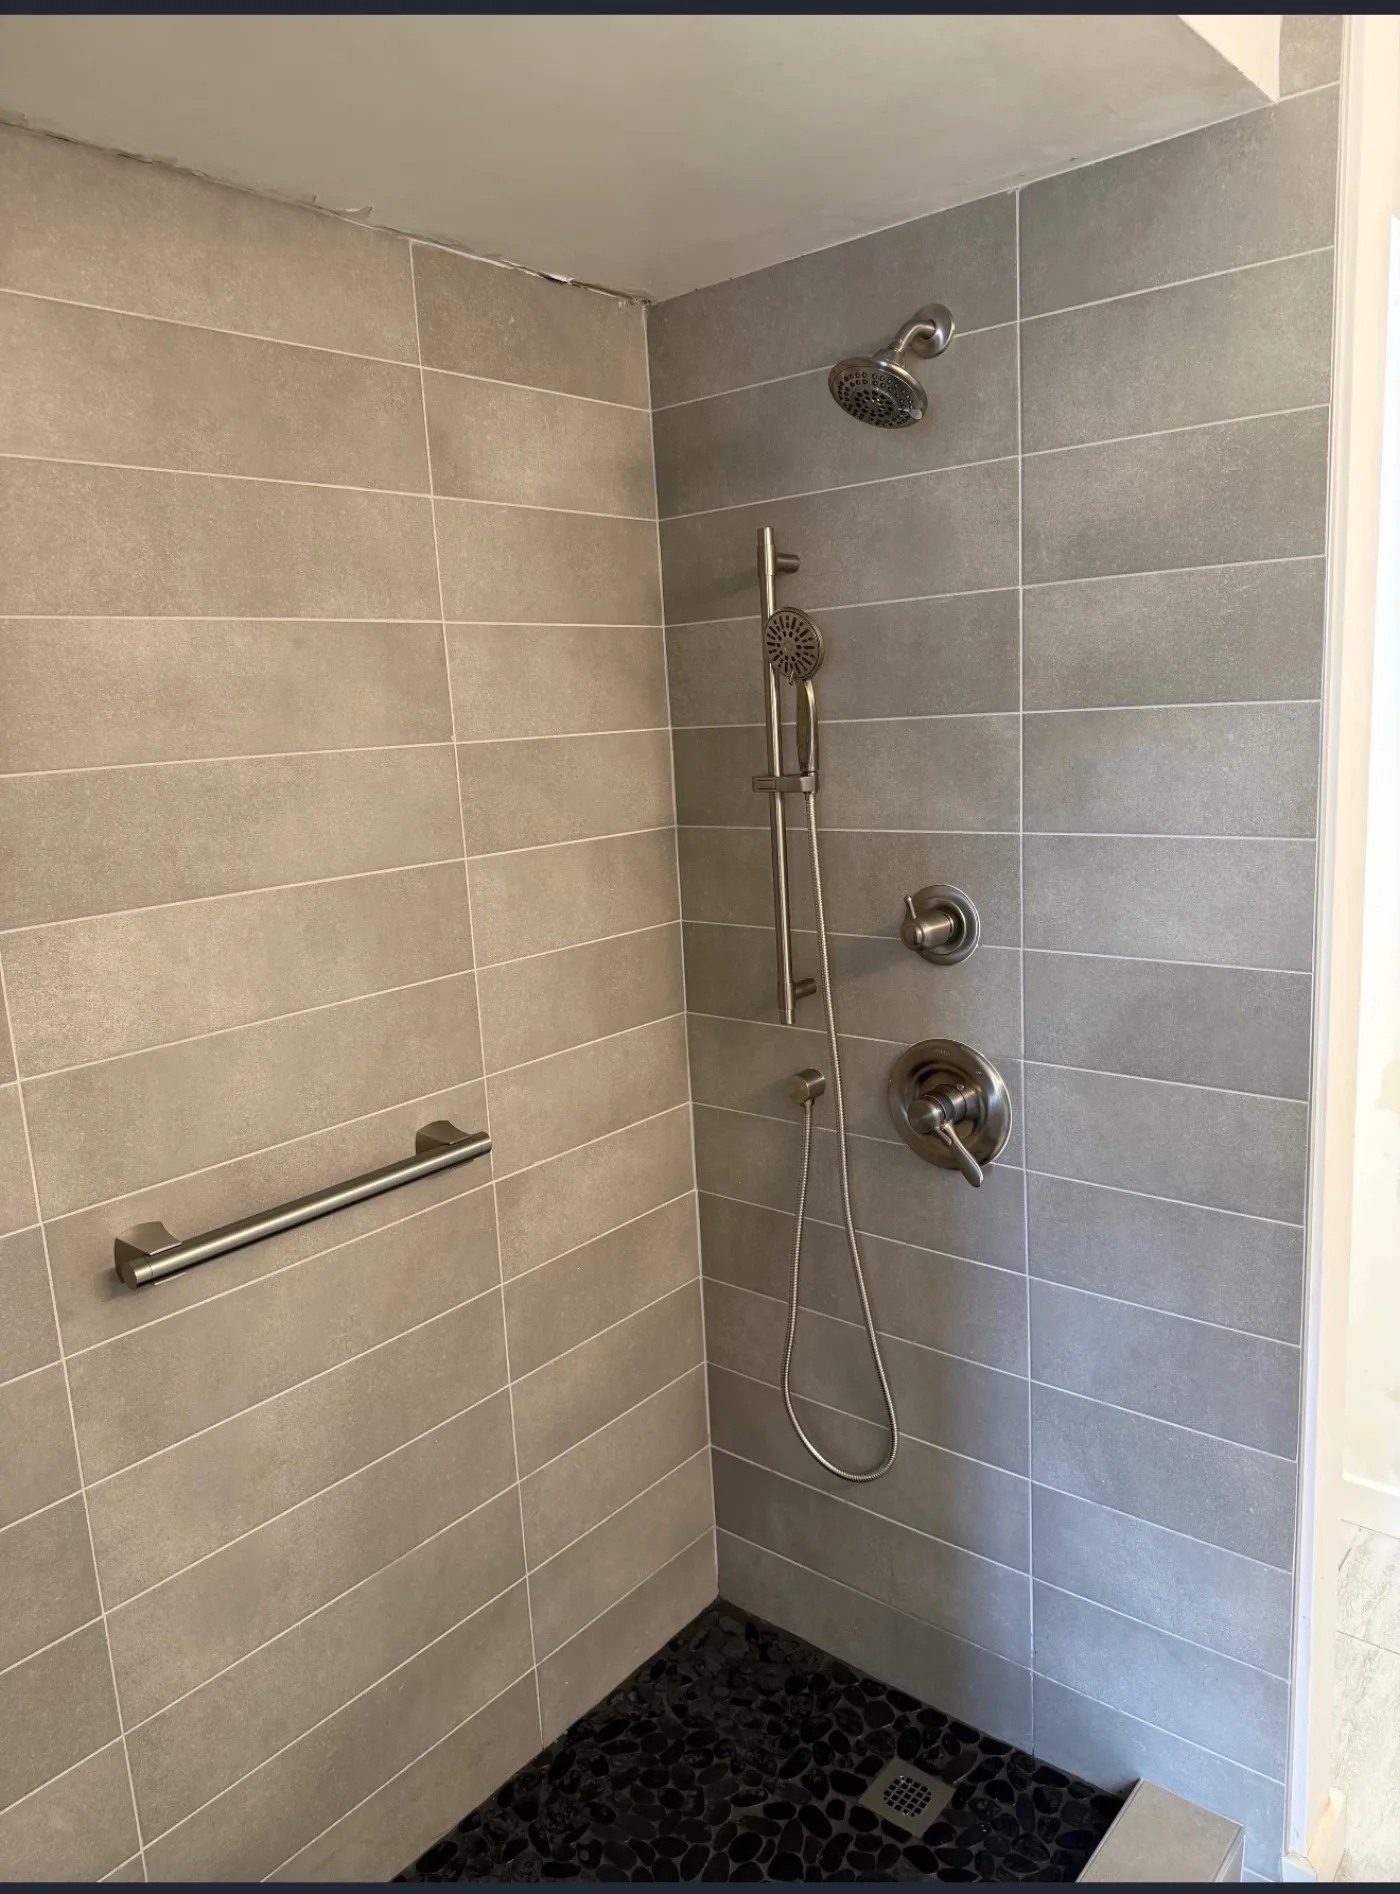
The choices behind those marks, from pressure-balance versus thermostatic to the diverter and the test, are covered on our page for shower valve installation in Kaneohe, and the island-wide shower valve installation page explains the job across Oahu. If the whole room is open, bathroom plumbing for a Kaneohe remodel covers the rest of it. Finished showers from other jobs are in the gallery.
Shower rough-in questions
Can the walk-through happen before framing is done?
Partly. We can talk through layout and heights early, but marks need studs to go on, and blocking has to be in before any board. The ideal moment is after framing wraps up and before plumbing goes in. If the framer is still working, we can mark the walls already standing.
What if I change my tile after the rough-in?
Tell us before the board goes up. Most valve bodies allow some adjustment, and with the wall still open, resetting one is a small job. Once the wall is closed and tiled, a different tile can change how the trim fits against it, and the fix gets a lot harder from there.
Does my tile setter really need to be there?
It is not required, but it helps more than almost anything else. If they cannot make it, send us their plan for the wall and the niche, and we will send them photos of the marked studs. The goal is for both trades to work from one shared picture of the shower.
A short visit in a bare shower, with the right people and the right parts in hand, heads off most of the regret we see behind finished tile.
Ready to mark the studs?
Tell us when framing wraps up and who is setting the tile. Bring the trim box and a tile sample, and we will handle the rest on site.